How to optimise + repurpose your Squarespace blog posts
Blogging regularly will help boost your SEO. But it’s no lie that creating valuable blog posts take time and energy so you want to make sure they get seen by your audience. There are many ways you can optimise AND repurpose your content so you can kill two birds with one stone!
Definitions of words used in this post:
SEO: Search engine optimisation. SEO is the practice of increasing the quantity and quality of traffic to your website through organic search engine results.
Keywords: Keywords and phrases in your website content that make it possible for users to find your website via search engines. A website that is well optimised for search engines "speaks the same language" as its ideal customer.
Keyword Stuffing: Literally stuffing as many SEO keywords onto a page as physical possible. There was a time when the method was a good way to get you ranking higher but search engines have smartened up and now it will end up hurting you more than helping as it comes across as spammy and inhuman.
01 / How to create SEO optimised blog posts on Squarespace
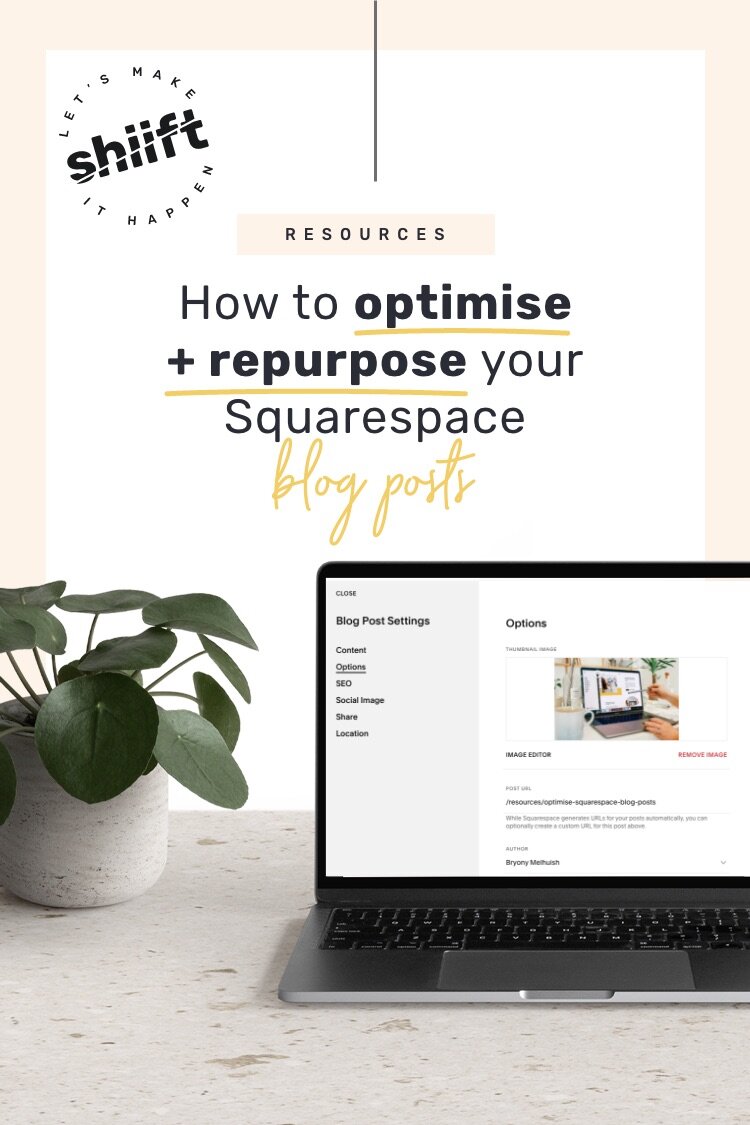
Once you’ve created your blog post you can optimise it by doing the following via the ‘Blog Post Settings’ Tab (hover over the 3 dots to the right of your post):

Check and optimise your blog post title and URL for SEO
When you create your blog post, you will naturally give it a title. Aim to write a ‘click-worthy’ title that leaves your audience wanting to find out more. Focus on including a keyword or phrase but remember to make sure it sounds natural.
Squarespace will automatically generate a URL based on the title. But before you hit publish you will need to check the following under ‘Options’:
Firstly that your URL is relevant to your blog post (sometimes Squarespace will add a few numbers and letters after it if you have duplicated a previous post).
Make sure to include keywords or phrases relevant to your sector / blog post. For example, for this blog post entitled ‘How to optimise and repurpose your Squarespace blog posts’ the URL slug is: /optimise-squarespace-blog-posts.
Keep it short. Eliminate words like ‘and’ and ‘to’ if you can - you want to aim to keep your URL as short as possible whilst still making sense! It’s okay if it doesn’t match your post title exactly!
Top Tip!
If you ever want to change the URL on your blog post it’s easy to do so via the options tab BUT you will want to make sure you redirect the old URL. What this means, is that if your blog post has been shared elsewhere then the click through will still work as it will redirect the user to the new URL. You will also need to do this if you ever delete the post (You can just redirect them to a similar post or your blog page as a whole). It’s an important step to remember as you don’t want to risk your audience landing on your 404 ‘error’ page.
Learn more about URL redirects here
Check and optimise your images for engagement and SEO
Aim to break up your blog post into a clear structure so it’s easy to navigate. You can do this by organising text into a hierarchy of sizes using your font styles as well as adding a few images and a call to action so readers know what to do next! Include keywords in your Heading 1 and 2 (H1 & H2) as these are given priority in search results.
Optimise your image file size:
It’s important to keep your image file size as small as possible. That’s because you want to keep the load time of your Squarespace website as fast as possible which in return will rank you higher in Google:Make sure your images are under 500kb (ideally a lot lot smaller).
Full width banner images around 2000px. Large images 1600px or under. Small Images 800px or under.
We use Photoshop as there are lots of controls and it’s easy to batch resize but there are online tools like TinyPng where you can compress your image file size.
Optimise your image file name:
Because search engines can only read text you will need to name your images appropriately. The name needs to be what the image is representative of. Aim to include keywords or phrases but avoid keyword stuffing. Squarespace make it easy to rename your files but of course it’s good practice to get into a habit of naming files on your computer too! You can edit your image filename by clicking on the image (pencil icon) > Content > Filename.

Check your SEO settings
Squarespace will automatically generate the SEO title and description used in Search Engines based on your post title and first paragraph of copy. However if you wish to steer this further you can edit it under the blog post Settings > SEO tab. You will see a preview of how it will be displayed. Either way it’s good practice to check this before publishing.
Add a social sharing image
A social sharing image is an image that shows a visual preview of your post together with your SEO title and description when sharing the link on social media. Setting the image is important as it gives your ideal client or customer a sneak peak into your post. You can update the social sharing image under the blog post settings (three dots to the right of the post).

02/ How to repurpose blog posts for email marketing
Now your blog post is optimised it’s time to repurpose it. Sending it to your email list is a great way to push it out into the world.
Consider pulling out some of the key points and provide a high level overview along with an image and call to action to read the full post. If you do not yet have an email list you can start building one via a platforms like Mailchimp or Flodesk (get 50% off when you sign up via my affiliate link).
There are many businesses competing for space in our inbox so be sure to pack your email full of value and optimise your subject line so your audience is more likely to click.
See this post on ‘7 Steps to craft better email subject lines’

03 / How to repurpose blog posts for your social media
Social media is a great way to connect with your ideal client so it’s time to chunk up your blog post a little further so it’s fit for the platforms you use to engage with them.
Take Instagram for example. Users are on there to primarily look at visuals and read relatively short captions. Consider taking the key points from your post and turn it into a carousel and a story cover and or some Pinterest graphics. This is also a great way to get those post saves and shares up! If you have an Instagram links page you can hyperlink it there too.
Here’s how to make an Instagram links page on your Squarespace website:
(Please note the trio layout will only work if you have had a website build by Shiift Creative).
Don’t have time to design and set up your Squarespace blog posts?
Leave it to us. Get in touch to learn more about our blog post packages.